

Creating and printing internal warehouse transfer form
Please access the website version to use this feature
To create an internal warehouse transfer form between warehouses, you need to follow these steps:
- Generate an internal warehouse transfer form
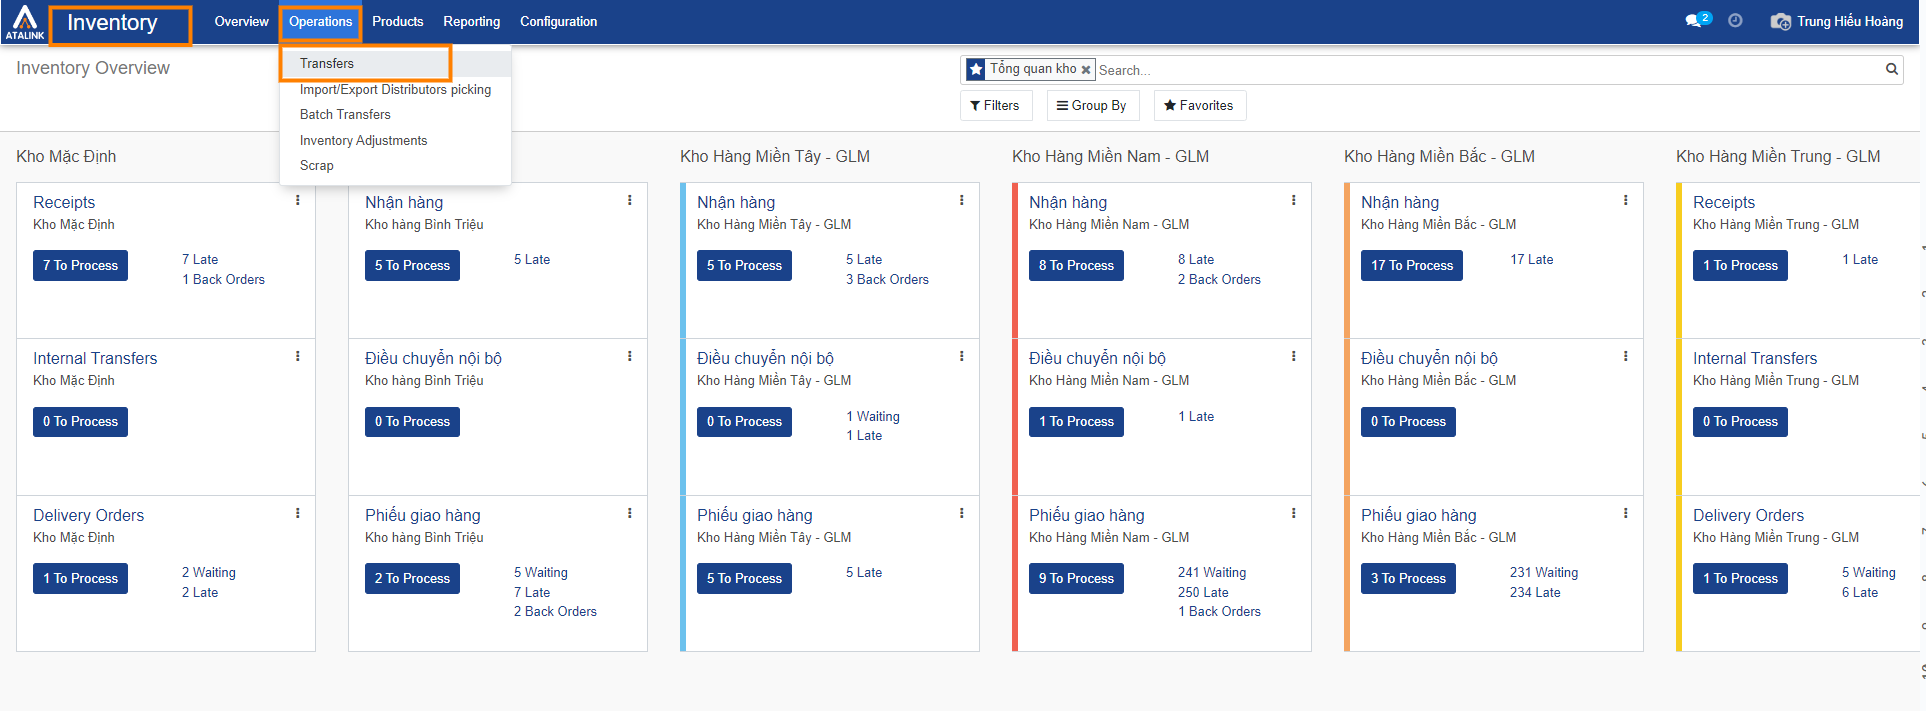
Step 1: Click on the Inventory section, then select Operations, and click on Transfer.
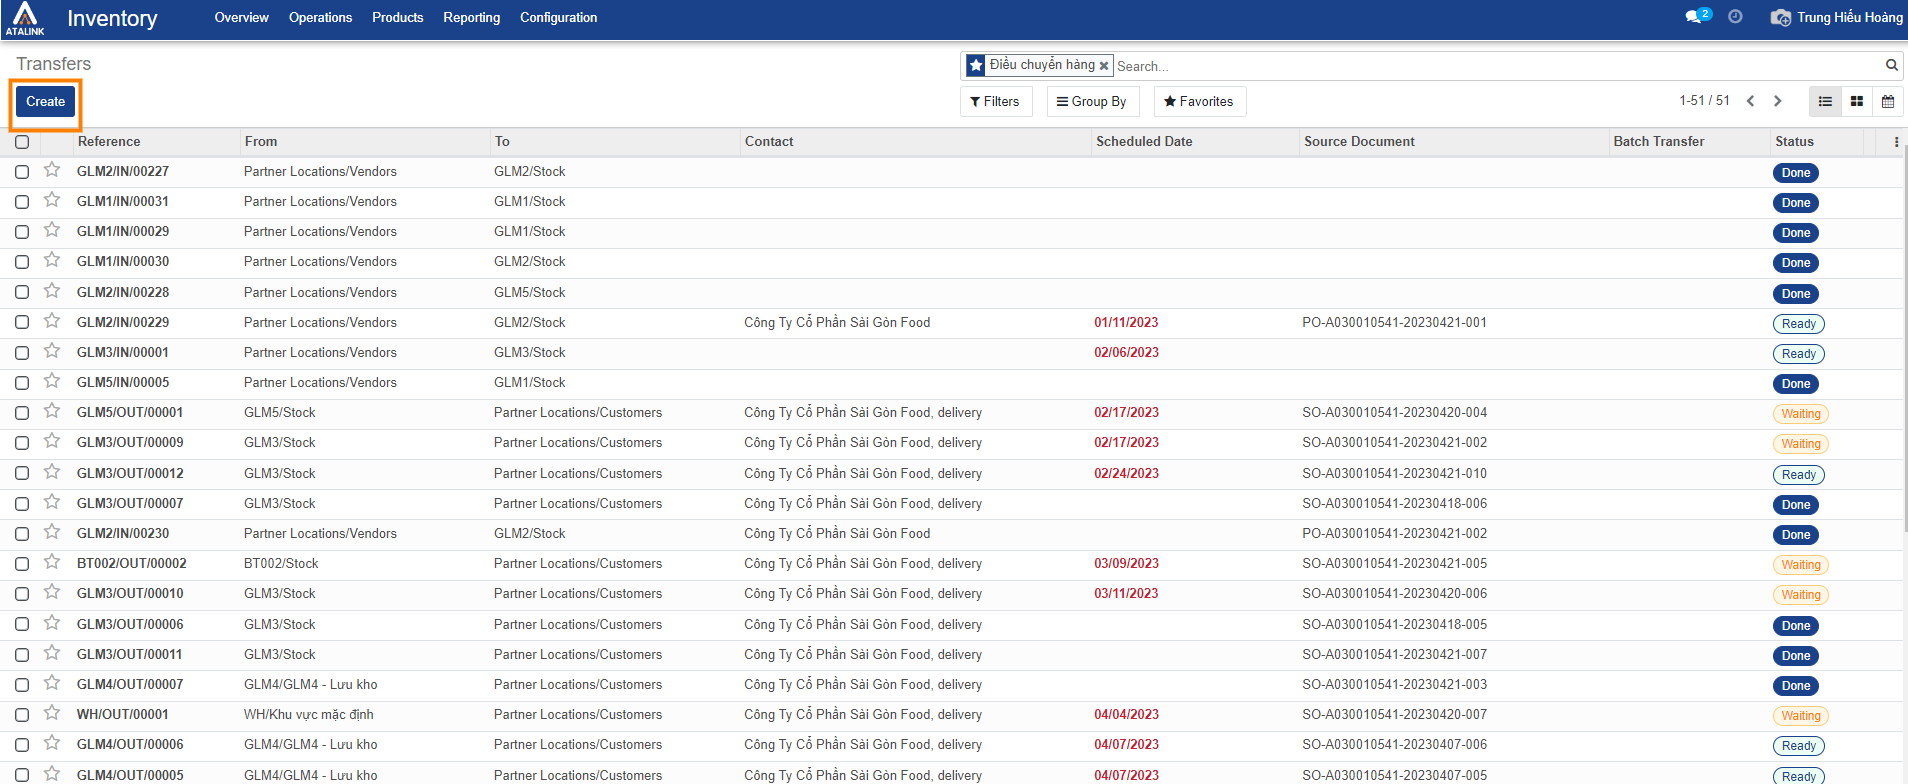
Step 2: In the Transfer interface, press Create to generate the warehouse transfer form.
Step 3: Please input or select the appropriate information.
- Contact: Choose the relevant Supplier / Customer / Vendor information for the warehouse transfer form.
- Activity Type: Select Internal Transfer.
- Destination Location: Choose the Area of the receiving warehouse you wish. You can click on Search for more options to find additional available receiving warehouse areas, or you can click on the icon
 to expand the list and explore other destination warehouse areas.
- Source Location: Select the Area of the warehouse you are transferring from. You can click on Search for more options to find additional available source warehouse areas, or you can click on the icon to expand the list and explore other source warehouse areas.
- Expected Date: The anticipated transfer date.
- Original Document: Input the original document information if desired.
- In the Activity tab, you can select products and input quantities for internal transfer.
- In the Additional Information tab, you can input extra delivery information if needed.
- In the Notes tab, you can add an internal note if desired, which will be printed on the pick list

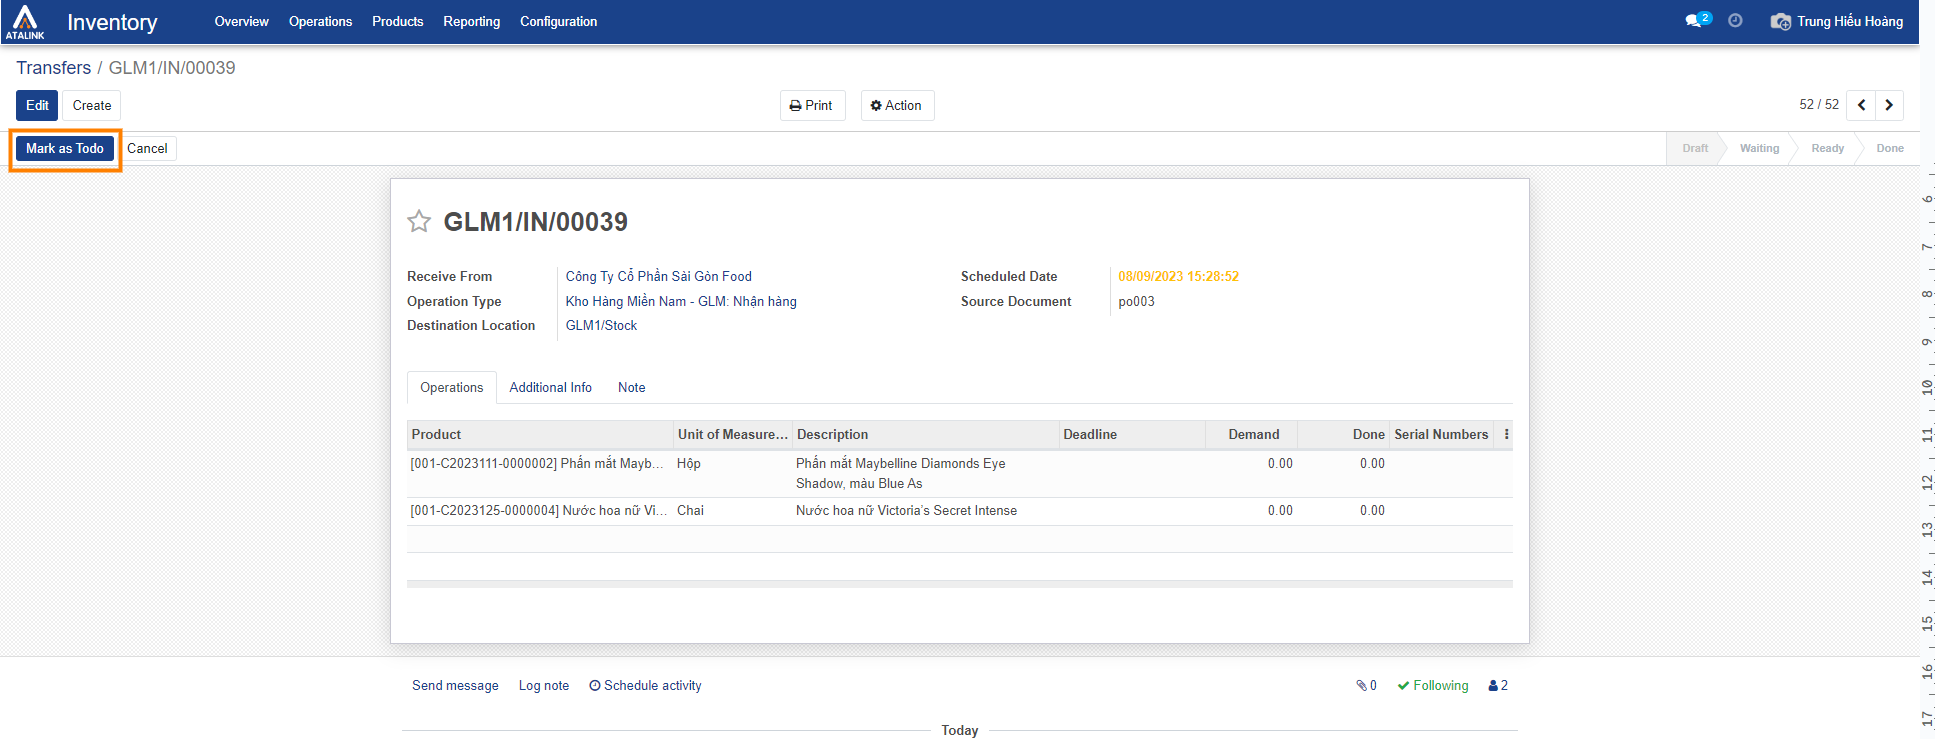
Step 4: Press Save, and then proceed to click on the “Mark as to-do” section.
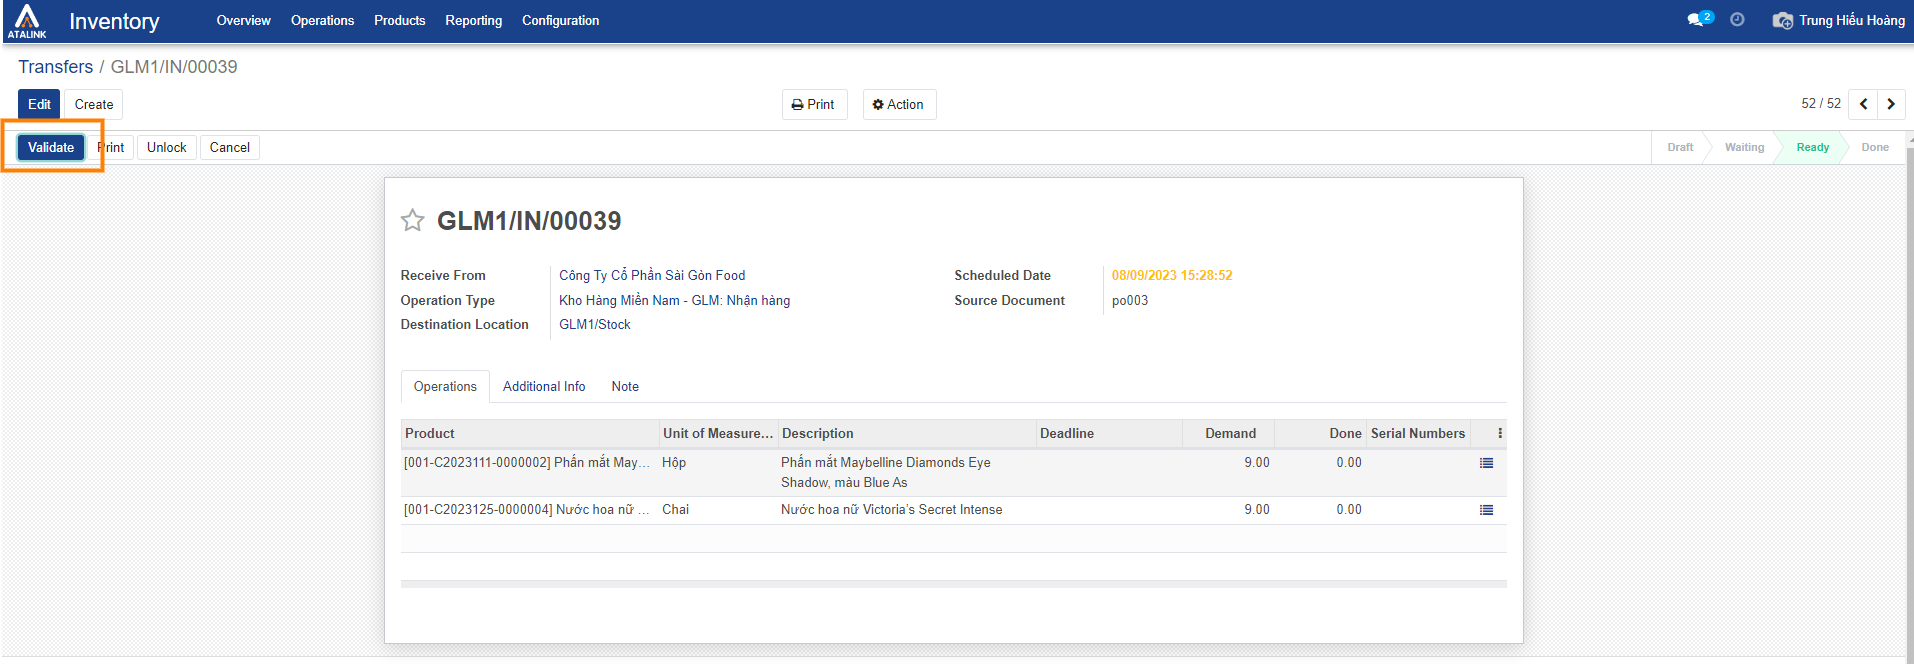
Step 5: Continue by clicking on Check Availability, then press Validate, and select Apply to complete the transfer process.
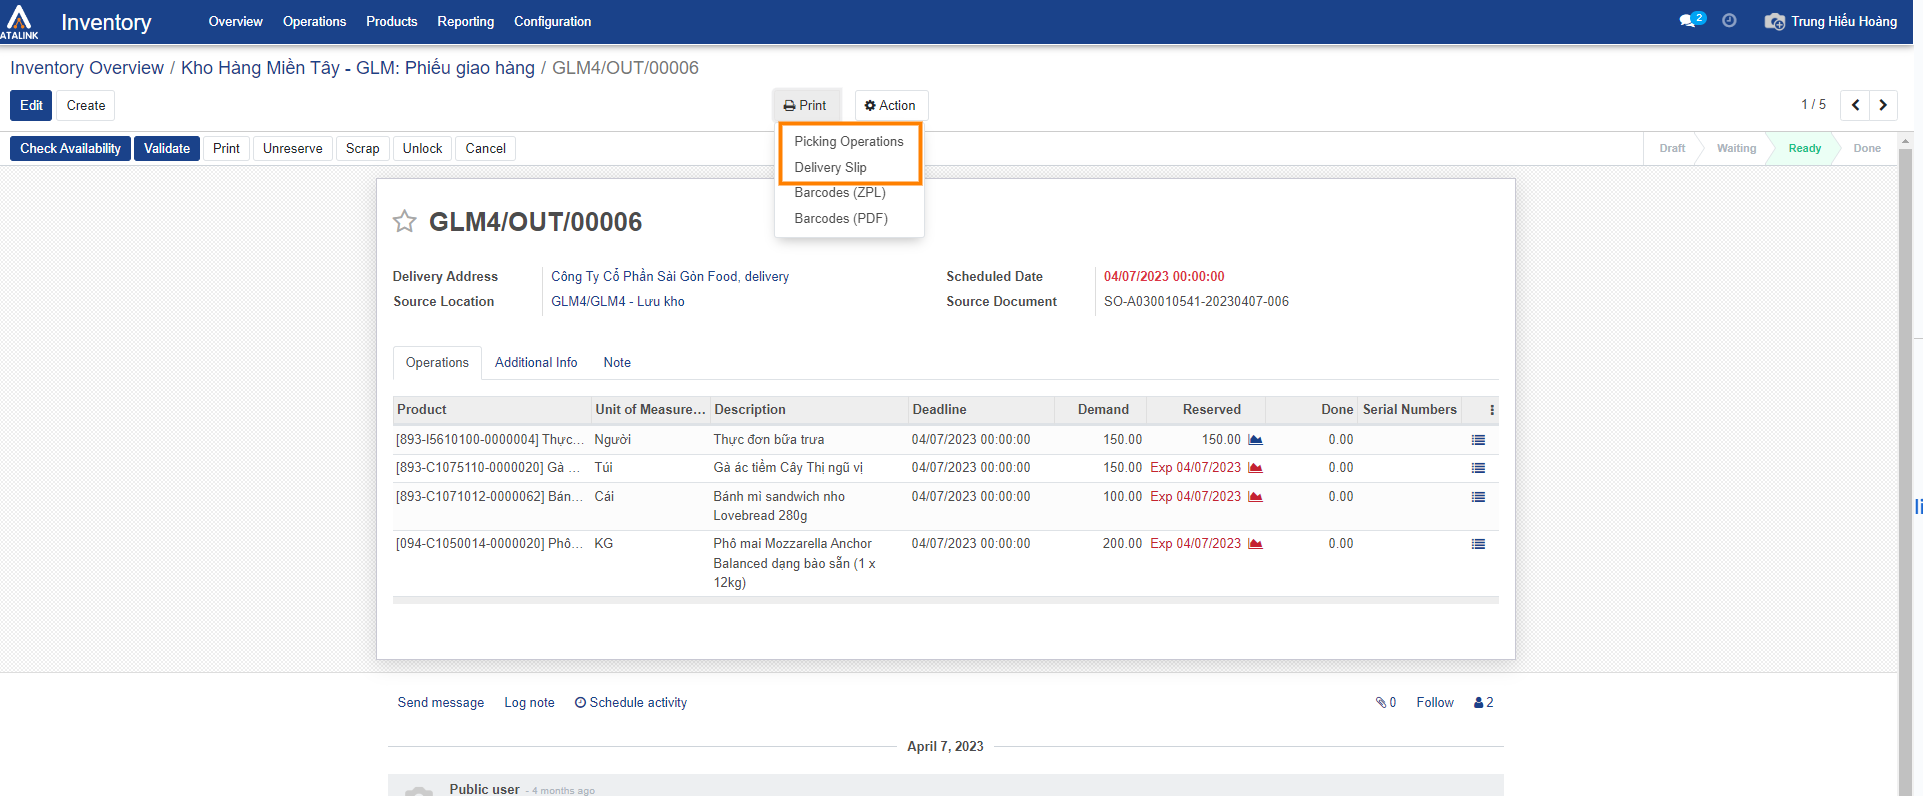
- Print an internal warehouse transfer form between warehouses
Step 1: Click on the internal warehouse transfer form you want to print.

Step 2: Click on the Print button on the internal warehouse transfer form to print it.