


Manage Sales Orders
After creating a Sales Order successfully, you tap on … next to the Sales Order or on the Sales Order Details screen that you want to update:
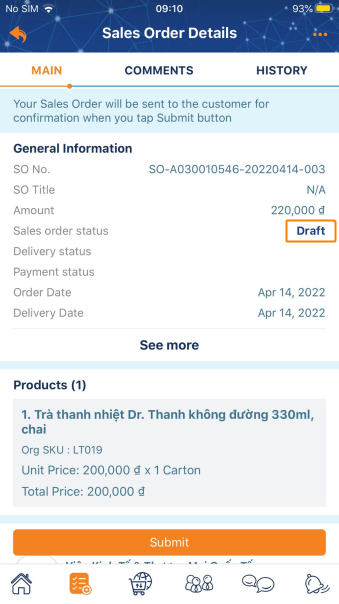
1. View Sales Order Details
-
Tap on the Sales Order to view detail
2. Change the status of Sales Orders
- Submit: When the Sales Order send successfully to the Customer, the status will change to submitted
- Cancel: Cancel a Sales Order that has already been sent to a customer. A canceled Sales Order cannot be reopened but you can Create a Copy from it.
- Close: Close a Sales Order when the transaction is completed. Then, that Sales Order’s status will be changed into Closed .
- Update : Edit, add information, and update orders. This information will be received in both directions by you and the customer
- Reject : Stop trading on this sales order. This action cannot be undone.
- Confirm : After the customer has updated on the purchase order received, you need to confirm to order is approved from both sides.
- Update : When you receive an order from a customer if there is information that needs updating or adding to the order, click here to update.


- Assign Salesperson : Select the salesperson to follow this order. When there is a change or action on the order, the salesperson will receive an instant notification.
- Create a Copy : You can create a copy from any Sales Order. Some details from the original Sales Order will be kept.

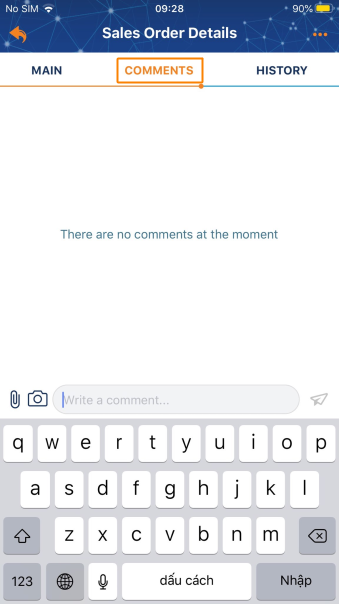
3. COMMENTS: In the process of sending the Sales order to customers, when the two parties have content to discuss directly, the Comments feature in the order will help suppliers easily chat with customers, as well as store this content.
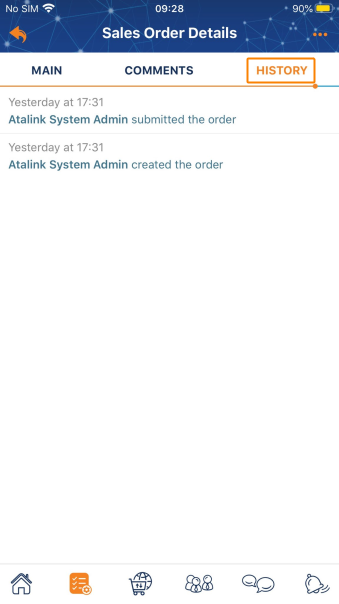
4. HISTORY: Activities from both sides of Customers – Suppliers will be stored detailed information about the time, the person in charge, and other actions.
The sales orders (SO) list is displayed according to the following fields:
- SO ID
- Order Date
- Delivery Date
- Customer
- Total (VND)
- Status
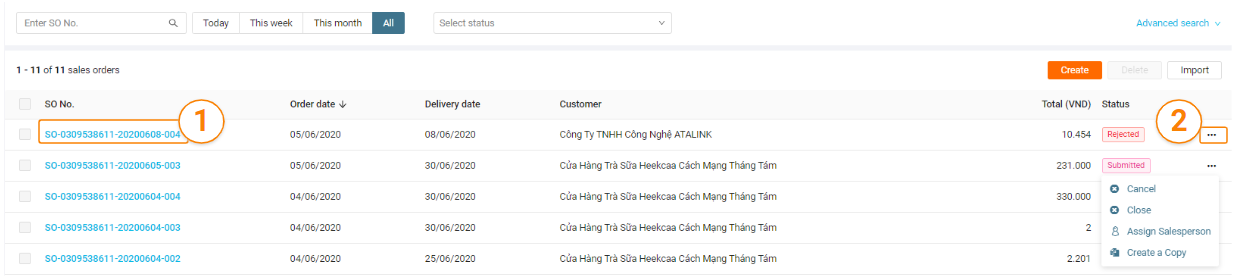
Step1: View SO detail: Click SO to view detailed information
Step 2: Operate with SO: Click the … icon at the end of the SO
Note: You can select the number of SO displayed on a page
1. For SO created in Draft Status, you have the following customizations:
- Edit : Click Edit to edit information on the SO
- Submit: Click Submit to send the SO to the customer. SO will change the status to Submitted
- Delete: Click Delete to delete the SO from the SO list. This SO will not be recoverable and sent to the customer
- Assign Salesperson: Select the salesperson to follow SO when changing or operating on this SO, a salesperson will receive instant notification
- Create a copy: create a new SO with information on an existing SO
2. For SO created in Submitted, Confirmed Status, you have the following customizations:
- Cancel: Click Cancel to stop the transaction for this SO. SO will change the status to Cancelled
- Close : Click Close if the SO has been completed. SO will change the status to Closed
- Assign Salesperson: Select the salesperson to follow SO when changing or operating on this SO, a salesperson will receive instant notification
- Create a copy: create a new SO with information on an existing SO
3. For SO created in Closed, Rejected, Cancelled Status, you have the following customizations:
- Create a copy: create a new SO with information on an existing SO
4. For SO created in Pending Confirmation Status, you have the following customizations:
- Confirm: Click Confirm to agree with the information on the SO. SO will change the status to Confirmed
- Update: Click Update to add or edit information and send it to the customer. SO will change the status to Submitted
- Reject: Click Reject to stop the transaction for this SO. After rejection, this SO will not be recoverable. SO will change the status to Rejected
- Assign Salesperson: Select the salesperson to follow SO when changing or operating on this SO, a salesperson will receive instant notification
- Create a copy: create a new SO with information on an existing SO