


Manage Members
To manage members of your Company, your login account must be assigned to one of the following roles:
- Super Administrator
- Administrator
- User Manager
1. Add member
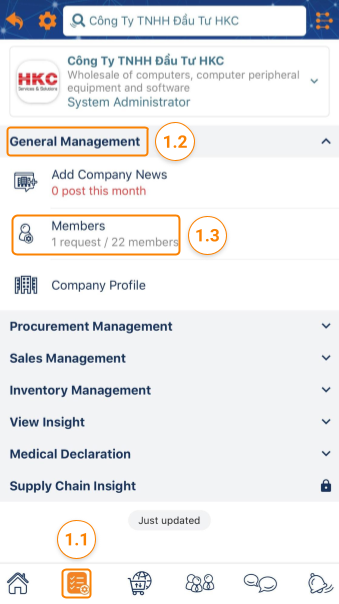
Step 1 : Access My Tasks > tap on General Management > Members

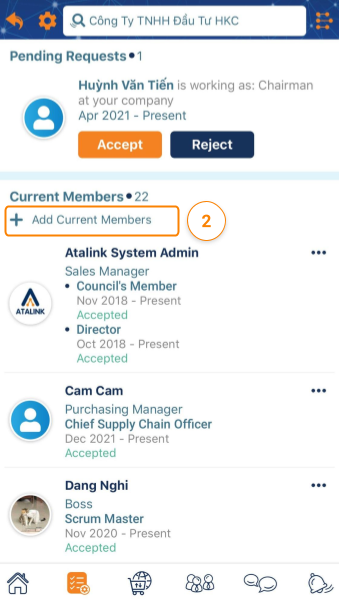
Step 2 : Tap on + Add Current Members to add a member to your Company.
Note: You can add only the members who registered an account on ATALINK already.
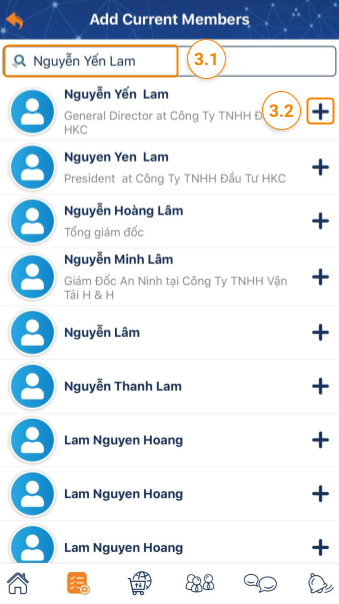
Step 3 : On the Add Current Members screen, search a user name and then tap on the icon + next to that user name
Note : Only users registered on ATALINK can be found.
Step 4 : Assign a Role . There are 5 roles for members to use in Sales Management. Depending on the role, the view and action will be different.
- Boss
- Sales Administrator
- Sales Manager > Level
- Sales Person
Step 5 : Select Title , Member since for that user. Then tap on the Add member button to finish adding the new member to your Company.
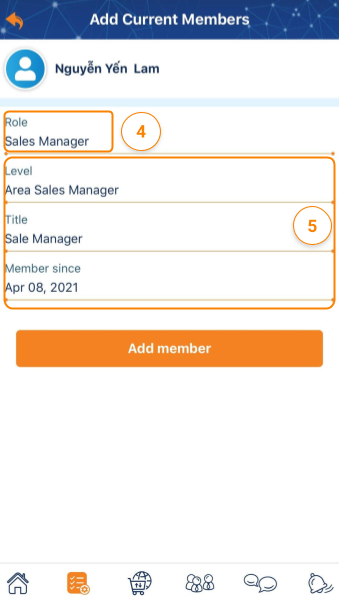
Note : The added user has to accept your request to be able to access ATALINK functions according to the assigned role.
2. Approve a Pending Request from Member
Step 1 : Access My Tasks > General Management > Members
Step 2 : On the Members screen, you can approve a request at the Pending Requests section

Step 3 : Assign a Role for that user
- Boss
- Sales Administrator
- Sales Manager > Level
- Sales Person
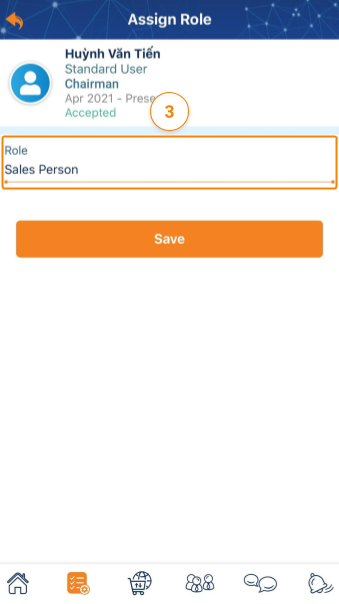
Step 4 : Tap on the Save button to finish the approval.
Please access the mobile version to use this feature